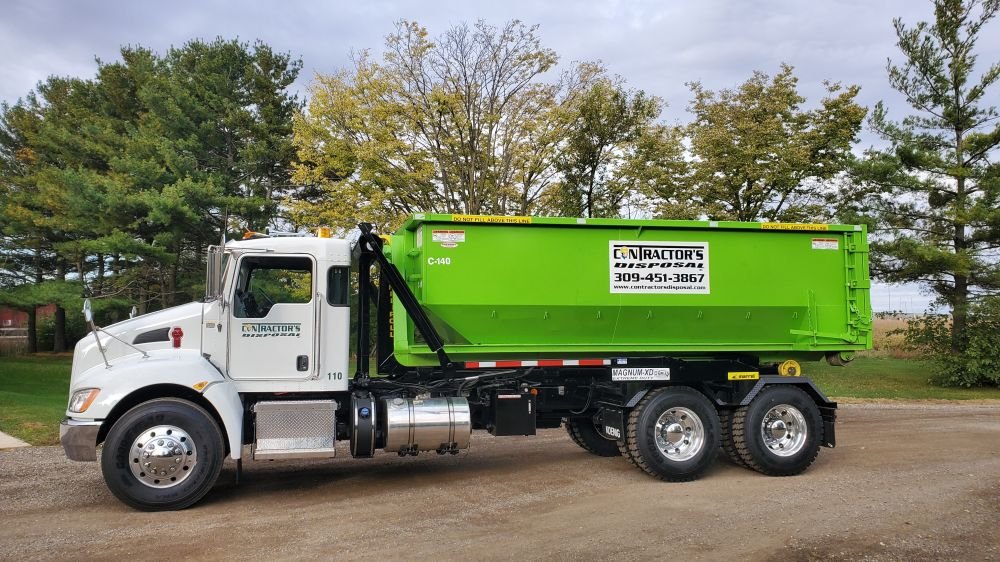
Construction projects create waste quickly. From broken drywall and lumber to roofing materials, packaging, concrete, and old fixtures, even a small renovation can produce more debris than a standard trash service can handle. Planning a reliable construction dumpster rental can make waste management much easier while keeping the jobsite organized and safer.
However, choosing a dumpster is not simply a matter of ordering the largest container available. The right solution depends on the type and volume of debris, available space, project duration, local disposal requirements, and how efficiently workers can load the container. A little planning before delivery can prevent unnecessary costs and frustrating delays.
What Is a Construction Dumpster Rental?
A construction dumpster rental provides a temporary waste container for collecting and removing debris generated during construction, remodeling, demolition, roofing, landscaping, or property improvement projects.
Unlike ordinary household garbage containers, construction dumpsters are designed to handle larger quantities of bulky materials. Depending on the provider and local regulations, they may accommodate materials such as:
- Wood and lumber
- Drywall
- Flooring
- Roofing shingles
- Cabinets and fixtures
- Concrete and brick
- Metal
- Construction packaging
- Yard and renovation debris
Dumpsters come in different sizes and weight capacities. A smaller container may work well for a bathroom renovation, while a major demolition project could require several large containers over the course of the job.
The key is matching the container to the project instead of guessing based only on its physical dimensions.
How to Choose the Right Dumpster for a Construction Project
Several factors should influence your decision.
1. Estimate the Amount of Debris
Start by estimating how much waste the project will produce. Consider both the volume and density of the materials.
For example, replacing kitchen cabinets might generate mostly lightweight wood and cardboard. A concrete removal project produces much heavier material, even if the overall volume is relatively small.
If you are uncertain, discuss the project with the rental provider and describe the materials involved. Experienced providers can often help identify a reasonable container size based on similar jobs.
2. Consider the Type of Material
Not every dumpster can accept every type of construction debris. General construction waste may be relatively straightforward, but certain materials can require special handling.
Paint, solvents, chemicals, asbestos-containing materials, batteries, tires, and other restricted items may have separate disposal requirements.
Before delivery, obtain a clear list of prohibited materials. This prevents workers from accidentally placing restricted waste into the container and potentially facing additional disposal charges.
3. Think About the Available Space
The dumpster needs more than enough room to physically fit. The delivery vehicle also needs sufficient access to place and retrieve it safely.
Measure the intended location and consider:
- Driveway width
- Overhead branches
- Utility lines
- Gates
- Nearby vehicles
- Building entrances
- Pedestrian walkways
- Surface conditions
A construction site may look spacious when workers are present, but equipment, vehicles, scaffolding, and material deliveries can quickly reduce usable space.
4. Determine How Long You Need It
Project schedules rarely go exactly as planned. Weather, inspections, material shortages, subcontractor availability, and unexpected structural issues can extend a project.
Ask about the rental period before booking. Find out what happens if you need the dumpster longer than expected and whether additional rental charges apply.
For a remodeling project expected to last three weeks, for example, building some scheduling flexibility into the rental can be more practical than arranging multiple last-minute pickups.
A Step-by-Step Dumpster Planning Strategy
Step 1: Identify the Waste Streams
Walk through the project and make a basic list of expected debris. Separate heavy materials from lightweight materials whenever possible.
A demolition project might produce wood, drywall, metal, flooring, and masonry. Knowing this in advance helps determine whether one general-purpose container is appropriate or whether certain materials should be handled separately.
Step 2: Estimate Volume and Weight
Do not focus exclusively on how full the dumpster will look. Weight can become an important limitation with dense construction materials.
A container filled with broken concrete behaves very differently from one filled with cardboard boxes and lightweight packaging.
Step 3: Select the Placement Area
Choose a stable, accessible location that does not interfere with normal site operations. Keep the container away from areas where workers regularly walk or operate heavy equipment.
If placing it on a driveway or paved surface, consider using protective material underneath when appropriate to reduce the risk of surface damage.
Step 4: Plan Loading Procedures
Workers should distribute debris rather than creating a single large pile. Even loading helps use the available space efficiently.
Large items should be broken down when safe and practical. Flattening cardboard and dismantling bulky fixtures can significantly improve usable capacity.
Never allow debris to extend above the container’s safe fill line. Overloaded dumpsters can create hazards during transport and may require material to be removed before pickup.
Step 5: Schedule Pickup Around the Project
Coordinate pickup with the project’s workflow. If demolition is happening continuously, waiting until the dumpster is completely packed may create unnecessary piles around the jobsite.
For larger projects, multiple scheduled pickups can keep debris under control and reduce clutter.
Common Mistakes or Challenges
One common mistake is choosing a dumpster based solely on price. The cheapest container may not be the most economical option if it is too small and requires additional pickups.
Another problem is underestimating heavy debris. A container that appears to have plenty of space may reach its weight limit before it is full.
Poor placement is another frequent issue. A dumpster positioned too close to a building entrance can obstruct workers, while one placed too far from the demolition area can increase the amount of labor required to move debris.
Restricted materials also cause problems. Construction crews should know disposal rules before the first load goes into the container rather than discovering restrictions after the container has been filled.
Finally, avoid treating waste management as an afterthought. Waiting until debris has accumulated across the property makes cleanup more difficult and can slow down other trades.
Practical Tips for Better Construction Waste Management
Keep the dumpster accessible. Avoid surrounding it with pallets, equipment, vehicles, or construction materials.
Separate reusable materials. Some lumber, metal, fixtures, or building components may be reusable or recyclable. Removing them before disposal can reduce waste and improve site organization.
Train the crew. Everyone working on the project should know what belongs in the dumpster and what does not.
Break down bulky materials. When safe, disassemble large items before loading them. This can create more usable space.
Monitor the fill level. Do not wait until debris is spilling over the sides before arranging a pickup.
Protect the work area. Keeping waste contained reduces trip hazards and makes the site easier to navigate.
Document disposal requirements. Maintain a simple list of accepted and prohibited materials where workers can see it.
Plan for unexpected waste. Renovation projects often uncover damaged materials that were not included in the original estimate. Leaving some capacity for surprises can prevent scheduling problems.
For example, a contractor renovating an older property might initially expect mostly drywall and flooring waste. Once walls are opened, additional damaged wood or fixtures may need removal. A little extra capacity can make the difference between a smooth cleanup and an emergency disposal arrangement.
Conclusion
Effective construction waste management starts before the first piece of debris enters the container. Estimate the project’s waste, understand material restrictions, choose an appropriate size, plan the placement area, and coordinate pickup with the construction schedule.
The goal is not simply to remove trash. A well-planned dumpster strategy keeps workers moving, reduces jobsite clutter, supports safer working conditions, and helps prevent avoidable disposal costs. By treating waste removal as part of project planning rather than an afterthought, contractors and property owners can make construction cleanup considerably more efficient.