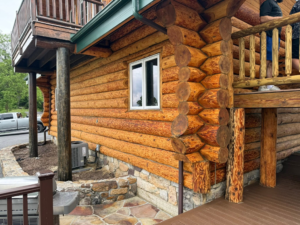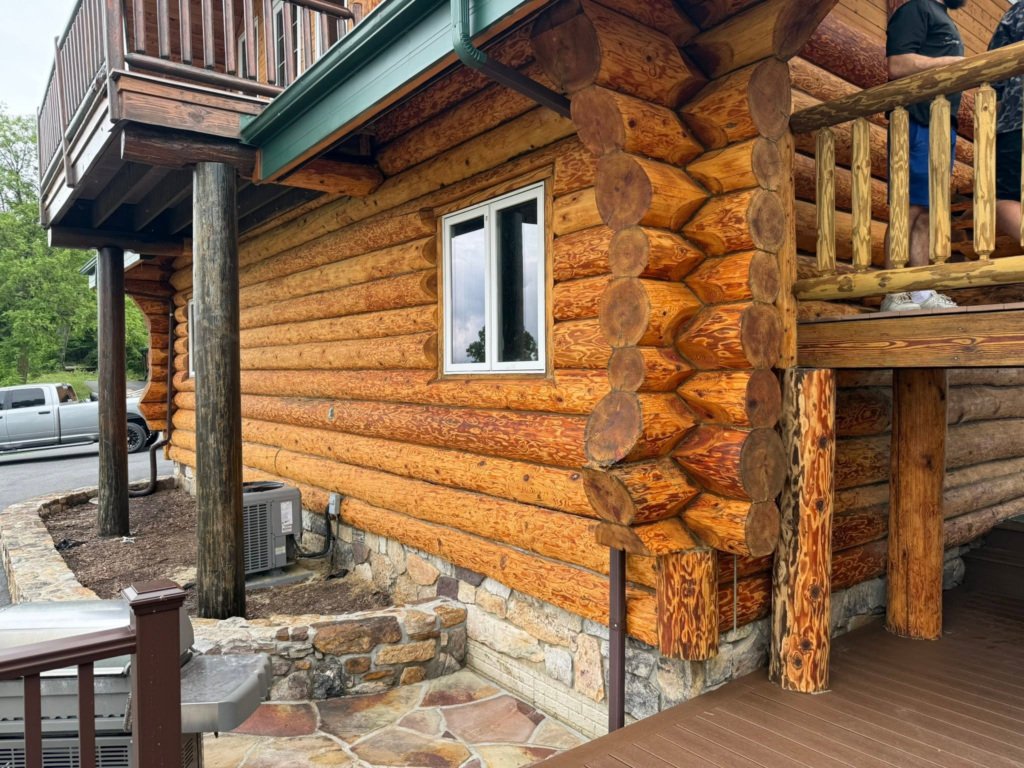
When people start searching for log home restoration near me in Winchester, Virginia , they’re often thinking about peeling stain, weathered logs, or a few cracks they noticed around the house. Fair enough. But restoring a log home is usually more involved than giving the exterior a fresh coat of finish. Wood moves, moisture gets into places you can’t easily see, and small problems can turn into expensive ones when ignored. A proper restoration process is about finding what is actually failing, fixing the cause, and then protecting the wood again. Sometimes the work is fairly simple. Other times, there’s rot hiding under old finishes or around windows and roof lines. That’s why the first stage matters so much. You need to know what you’re dealing with before tearing into anything.
The First Step Is a Thorough Inspection
A good restoration starts with someone looking closely at the entire structure, not just the spots that look ugly. Logs are checked for cracks, soft areas, discoloration, insect damage, moisture problems and signs of decay. Areas around doors, windows, corners, roof connections and lower log courses deserve extra attention because water tends to collect there. A professional may probe questionable wood to see whether the log still has solid strength underneath the surface. They’ll also look at gutters, downspouts, grading and drainage, because replacing damaged timber without fixing the water problem is basically asking for the same repair again. Sometimes the inspection finds less damage than expected. Sometimes, well, it finds more. Either way, this step gives you a realistic picture of what needs to happen next and helps separate cosmetic issues from structural concerns.
Cleaning and Removing Old Finishes
Once the condition of the logs is understood, the surface usually needs to be cleaned. Years of dirt, mildew, old stain and loose coatings can hide what’s happening underneath. Depending on the condition of the home, restoration crews may use careful pressure washing, media blasting or other cleaning methods suited to the wood. The goal isn’t to make the logs look brand new by force. Too much pressure or aggressive blasting can damage the softer parts of the timber, and that creates another problem. After cleaning, the logs need time to dry properly. This is one of those parts homeowners sometimes want rushed because the house looks messy halfway through. Don’t. Moisture trapped inside the wood can cause trouble later, especially when new finishes are applied before the timber has dried enough.
Repairing Cracks, Gaps and Damaged Wood
After cleaning, the damaged areas become easier to see. Cracks and checks may need sealing, while larger gaps between logs can require chinking repairs. Damaged sections of timber are assessed individually because not every cracked log needs replacement. If the wood is still sound, it can often be repaired and protected. If decay has weakened the timber too much, removing the affected section may be the smarter choice. This is where restoration stops being a simple cosmetic project. The goal is to preserve as much original material as possible without pretending badly damaged wood is still usable. A skilled contractor knows the difference. You don’t want to replace good logs unnecessarily, but you also don’t want to leave compromised timber in place just because replacing it feels expensive.
Replacing Rotten Logs When Necessary
Sometimes there’s no getting around it. A rotten log has to come out. Log cabin rotten log repair can involve carefully supporting the structure, removing the damaged timber, preparing the opening and fitting a properly sized replacement log or timber section. It sounds straightforward until you remember that the logs are part of the actual wall system. The replacement needs to fit correctly and tie into the surrounding structure. In some homes, only part of a log is damaged, so a section can be cut out and replaced rather than removing the whole piece. Other cases are more serious, especially when rot has spread through several courses. This work should not be treated like ordinary carpentry. Poorly handled log replacement can create alignment, settling or moisture problems down the road.
Addressing Moisture Before It Causes More Damage
Fixing rotten wood without fixing the moisture source doesn’t really solve anything. Water is usually the enemy behind many log home problems. Leaking gutters, poor drainage, splashback, failed chinking, roof issues and badly sealed openings can all keep timber damp. During restoration, these trouble spots need attention. The ground around the house may need to be graded so water moves away from the foundation. Downspouts might need extensions. Flashing and seals around windows can also require work. It’s not glamorous, and nobody gets excited about drainage, but this stuff matters. A restored log wall can look fantastic and still start deteriorating again if water keeps finding the same path into the wood.
Sanding and Preparing the Timber for Finish
Once repairs are complete and the logs have dried, the surface may need sanding or additional preparation before finishing. This helps remove damaged surface fibers and creates a cleaner, more even base for stain or protective coatings. The amount of sanding depends on the condition of the timber and what finish was previously used. You don’t necessarily want every mark and variation erased. Log homes have character, and some weathering is part of that character. The objective is to create a sound surface that can accept the new protective treatment properly. It can be a dusty, noisy stage of the job, but it makes a big difference in how the finished home looks and how well the new coating performs.
Applying Stain and Protective Finishes
After the wood is properly prepared, a suitable stain or finish can be applied. This isn’t just about choosing a color you like. The product needs to work with the type and condition of the wood, the climate, and the level of exposure the house receives. Exterior logs take a beating from sunlight, rain, snow and temperature changes. A quality finish helps reduce moisture absorption and protects the surface from weathering. Application also needs to be done evenly, especially around checks, corners and end grain. Rushing this stage can leave uneven coverage or cause premature failure. A good restoration crew will usually pay close attention to weather conditions too. Applying finish to damp wood, or during unsuitable temperatures, can create headaches later.
Checking the Work Before the Job Is Finished
Restoration shouldn’t end when the last coat goes on. The completed work needs another inspection. Repairs should be checked, seams and chinking examined, replacement timber reviewed, and finish coverage looked over carefully. This is also a good point to make sure water-management improvements were actually completed. If there were known problem areas, they shouldn’t simply disappear from the conversation once the house looks better. A final walkthrough gives the homeowner a chance to understand what was repaired and what may still need monitoring. It also helps establish a maintenance routine. Because, yes, even a properly restored log home needs ongoing care. Restoration buys you time and protection. It doesn’t make the timber maintenance-free forever.
How Long Does Log Home Restoration Take?
There isn’t one honest answer. A small home with mostly surface weathering may take considerably less time than a large property with widespread decay, old coatings, structural repairs and multiple moisture issues. Weather can slow exterior work too, particularly when the wood needs to dry between stages. The condition of the logs is probably the biggest factor. Once an inspection is completed, a contractor can usually give you a much more useful estimate based on the actual scope. Don’t put too much weight on someone promising an extremely fast restoration without seeing the property first. Sometimes quick sounds good, but with log homes, rushing preparation or drying is a good way to create another repair bill.
What Homeowners Should Expect After Restoration
A restored log home should look better, but the bigger win is knowing the timber has been properly assessed and protected. You should expect some ongoing maintenance afterward. Exterior finishes eventually need refreshing, cracks should be watched, gutters kept clear and water drainage maintained. Keep an eye on areas that stay shaded or damp because those are often the first places where trouble returns. It’s also smart to deal with small issues early instead of waiting until a log becomes soft. Log homes can last for generations when they’re cared for properly. They just don’t tolerate neglect very well. That’s the blunt truth.
Conclusion: Good Restoration Protects the Home for the Long Run
Log house restoration can look complicated from the outside, but the basic idea is pretty simple: inspect the wood, find the causes of damage, repair what can be saved, replace what cannot, and protect everything properly afterward. The biggest mistake is treating restoration as nothing more than a cosmetic upgrade. Fresh stain might make an old house look great for a while, but it won’t stop water entering through bad drainage or repair timber that has already started to decay. A careful restoration process deals with those underlying problems first. It takes patience, proper preparation and the right experience with log structures. Done properly, though, the result is worth it. You’re not just making the house look nicer. You’re helping preserve the timber, the structure and the character that made the log home worth keeping in the first place.