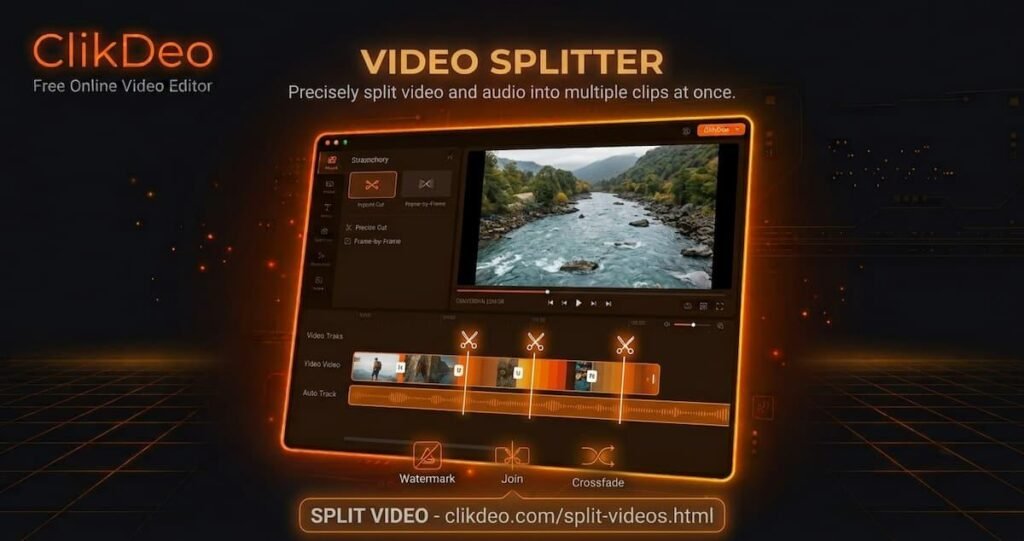
Split Videos Online with ClikDeo's video splitter
A free online video splitter is the fastest way to turn one long recording into multiple usable clips — no software to install, no file uploaded to any server, no watermark on any output. Most creators sit on hours of footage they never use. Not because it is bad — because it is stuck inside one massive file that no platform wants, no email can carry, and no viewer will sit through from start to finish.

A 90-minute workshop recording. A three-hour gaming session with five highlight moments buried inside it. A full-day conference captured in one continuous take. A lecture recorded in one sitting that students are expected to learn from in pieces. All of that footage has value. It just needs to be divided before it can go anywhere useful.
Splitting a video is not a technical skill. It is a workflow decision. And the creators who do it consistently — who treat every long recording as raw material rather than a finished product — end up with more content, more reach, and more flexibility than those who upload the whole thing and wonder why it underperforms.
This article covers how video splitting actually works, which split mode to use for which situation, the mistakes that produce bad results, and the workflow that turns one long recording into an entire content library.
What Splitting Actually Does — And What It Does Not Do
Before anything else, it helps to be clear about what happens when you split a video, because most people confuse it with two other things: compressing and trimming.
Splitting is not compression. Compression makes your file smaller by reducing quality — lower resolution, lower bitrate, visible degradation. Splitting does not touch quality at all. Each split part comes out at the exact same resolution, bitrate, and frame rate as your original. The file sizes are smaller only because each part contains less footage, not because anything was reduced or downgraded.
Splitting is not trimming. Trimming cuts the edges of a single clip — you remove the slow start or the awkward ending and end up with one shorter file. Splitting divides one file into multiple files. You start with one recording and finish with two, five, or ten individual clips. The total duration across all parts equals the original. Nothing is removed from the content itself.
This distinction matters because people often reach for the wrong tool. If you want to shorten a video, trim it. If you want to divide it into pieces that can each stand on their own, a free online video splitter is the right choice.
The Four Split Modes — Explained for the Job Each One Is Actually Built For
This is where most guides get vague. They list the modes without explaining which situation each one solves. Here is the honest breakdown.
Free Split — When You Know Exactly Where the Cut Should Go
Free Split gives you a draggable marker on your video timeline. You move it left or right until it sits on the exact second you want to divide the video. The tool produces two files: everything before the marker and everything after it.
This is the right mode when the split point is a specific moment in the video — the end of a speech, the transition between two topics, the second before a new segment begins. It gives you full manual control and produces exactly two parts, nothing more.
Use Free Split when content structure determines where the cut lands, not math.
Average Split — When You Need Equal Parts Without Doing the Calculation
Average Split asks you one question: how many parts do you want? You press the plus or minus button to set a number, and the tool divides the total duration into that many equal-length segments automatically. A 60-minute video split into six parts gives you six 10-minute files, each identical in length.
This mode exists for situations where consistency matters more than content structure — creating uniform episodes for a series, dividing a long recording into equal chapters, producing a batch of clips that all need to be the same length for scheduling purposes. You do not need to watch the video or identify timestamps. You set a number and the tool handles the rest.
Time Split — When the Platform Has a Length Limit and You Need to Work Inside It
Time Split lets you set a fixed duration per clip. You set 60 seconds, and the tool produces as many 60-second clips as it takes to cover the full video. A 15-minute video at 60 seconds per clip gives you 15 clips. A 12-minute video at 90 seconds per clip gives you eight clips.
This mode was built specifically for social media batch production. YouTube Shorts cap at 60 seconds. Instagram Reels perform best under 90 seconds. TikTok’s algorithm favors clips under three minutes. Time Split lets you enter the platform’s preferred length once and generate every compliant clip in a single operation — no manual measuring, no re-uploading to adjust lengths.
Size Split — When the Problem Is Bytes, Not Minutes
Size Split works differently from the other three. Instead of dividing by time, you drag a slider to set a maximum file size per part — 25MB, 100MB, 500MB — and the tool calculates how many parts that produces and splits accordingly.
Gmail caps email attachments at 25MB. WhatsApp limits video attachments to 16MB on mobile. Many corporate file-sharing systems have their own upload ceilings. When your video is physically too large to send, Size Split breaks it into pieces that fit the constraint — without converting the format, without compressing the quality, and without any manual calculation on your part.
The Preview Table — The Feature Most People Skip Entirely
Before you click Split Video, the tool generates a table showing every expected output file. Each row lists the part number, start time, end time, duration, and estimated file size. This table updates in real time as you adjust your settings.
Most people scroll past it and go straight to processing. That is a mistake that costs time.
The preview table is where you catch a split point that landed two minutes too early. It is where you notice that Part 3 is going to be 45 seconds long while every other part is 10 minutes — a sign that your Time Split settings were misconfigured. It is where you see that your Size Split is going to produce 47 files when you expected 6, because your target file size was set too small.
Spending 30 seconds reading the preview table before processing is the single most effective way to avoid re-doing a split that took 20 minutes to run.
Real Situations Where Splitting Changes the Outcome
The Educator With a 90-Minute Lecture
Research consistently shows that video completion rates drop sharply after the 10-minute mark. A student who genuinely wants to learn from a 90-minute lecture still struggles to maintain focus across an unbroken block of that length. More practically: if a student wants to review a specific topic from the lecture, they have to scrub through the entire recording to find it. There is no way to jump directly to the relevant section.
Splitting the lecture into topic-based segments — each one covering one concept, one chapter, one discussion point — solves both problems. Students can watch in sessions that fit their schedule, and they can return to specific segments without hunting through the full recording.
Average Split works when your lecture chapters are roughly equal in length. Time Split works when you want each segment capped at a specific duration regardless of content. Free Split works when you have identified the exact timestamps where each topic ends and the next begins — which produces the most naturally structured results but requires watching the recording first.
The workflow that produces the best results for educators: watch the recording once and note the timestamps of natural topic transitions, then use Free Split at each timestamp. The output feels like individually recorded lessons rather than chunks of a longer file.
The Content Creator With One Long Recording and Seven Platforms to Post On
A 20-minute tutorial is too long for TikTok, too long for Reels, too long for Shorts, and too long for most people to watch on LinkedIn. But it might be exactly the right length for a YouTube upload or a course module. The same recording needs to exist in multiple forms.
Time Split with a 60-second duration produces a batch of Shorts-ready clips. Time Split with 90 seconds produces Reels-ready clips. The full recording goes to YouTube. Three of the highlight clips go to LinkedIn at their original length. One segment becomes a standalone video for Twitter.
This is the workflow that separates creators who post once per recording from creators who post everywhere from the same source material. Using a free online video splitter at this stage costs nothing and multiplies your output significantly.
The Gamer With Three Hours of Session Footage
A three-hour gaming session might contain five genuinely watchable moments — a clutch play, an unexpected comeback, a funny interaction, a skill demonstration, a close finish. The other two hours and forty minutes are gameplay that no viewer asked to watch.
Free Split at the timestamps around each highlight produces five individual clips, each one a complete story. Each clip gets its own upload, its own title, its own thumbnail. Five pieces of content from one recording, none of them padded with the footage that surrounds them.
Average Split works when your matches or rounds are roughly equal in length and you want one clip per round without watching the recording first. Time Split works for stream highlights where you want clips of a consistent length regardless of what happens in each one.
The Workflow Order That Produces Clean Results Every Time
Splitting first and cleaning up afterward is harder than cleaning up first and then splitting. The reason is simple: when you split a raw recording, every part inherits the raw recording’s problems — the slow start, the dead air, the moment you forgot to stop recording. You then have to address those problems in every individual file instead of once in the original.
The order that works:
First, trim the full recording. Remove dead air from the beginning, cut the abrupt ending, eliminate any section that should not appear in any version of the content. One pass on the full file means every split part starts and ends cleanly.
Second, split into parts. With the full recording already clean, every output from the split is clean by inheritance. You choose the right mode for your goal — Free, Average, Time, or Size — and process.
Third, format for destination. Convert horizontal parts to vertical if they are going to TikTok or Reels. Add thumbnails to parts going to YouTube. Extract audio from parts that will be distributed as podcast clips. Each part gets formatted for where it is going, not for where it came from.
This sequence — clean, split, format — consistently produces better results than any other order and eliminates most of the re-processing that comes from skipping the trim step.
If you are new to video editing workflows, our guide on how to merge audio and video online free covers the next step most creators take after splitting their footage.
Why Local Processing Matters for Your Footage
Every file you handle in this tool stays on your device throughout the entire process. Nothing is transmitted to a server. Nothing is stored on external infrastructure. Your browser reads the file directly from your local storage, processes it using your CPU and the browser’s built-in capabilities, and writes the output back through a standard download.
This is not a marketing claim — it is how the tool is built. The File API reads your video locally. A hidden canvas element captures frames. The Web Audio API handles the audio track. MediaRecorder assembles the final output. All of it runs inside your browser tab.
For most people, this is convenient. For people handling client recordings, unedited personal footage, confidential screen captures, or content that has not been released publicly yet, it is important. Your footage does not leave your machine.
The Part Nobody Tells You About Processing Time
Splitting a video takes roughly as long as the video itself runs. A 20-minute recording takes approximately 20 minutes to split. This surprises people the first time, and it leads to closed tabs and abandoned processes.
It is not a bug or a performance limitation of the tool. It is a direct consequence of how local browser processing works. The tool processes every frame in real time — drawing each one to a canvas, mixing the audio track, recording the combined output through MediaRecorder. Real-time processing means the wall clock and the video clock move together.
The practical implication: start the process and do something else while it runs. The tab continues working in the background. You do not need to watch a progress bar for 20 minutes. Start the split, move to another task, and return when the download prompt appears.
Three Mistakes That Produce Results You End Up Re-Doing
Splitting without reading the preview table. Every misconfigured setting shows up in the preview table before processing starts. The table tells you exactly what you are about to get. Reading it takes 30 seconds. Not reading it can cost 20 minutes of re-processing.
Using Average Split when the content has natural breakpoints. Average Split divides by math, not by content. A 60-minute lecture split into six equal parts produces six 10-minute files — but if your lecture has a 15-minute section and an 8-minute section, the equal split cuts through both of them in the middle. When content structure matters, Free Split at natural breakpoints produces cleaner, more watchable segments.
Splitting horizontal footage before converting for vertical platforms. If your destination is TikTok, Instagram Reels, or YouTube Shorts, your clips need to be in 9:16 vertical format. Converting a long horizontal recording to vertical first and then splitting is inefficient — the conversion step has to process the full length of the original. The faster workflow is to split first using a free online video splitter, then convert each individual clip. Shorter files convert faster, and you only convert the clips you actually intend to post, not the entire original recording.
Ready to Use a Free Online Video Splitter?
You have one long recording and a clear idea now of what to do with it. The mode that fits your situation, the preview table that catches mistakes before they cost time, the workflow order that keeps every output clean, and the reason the processing takes as long as it does.
Open ClikDeo’s Video Splitter and upload your video. No account needed. No file size restriction. No watermark on any output. Nothing leaves your device. Choose your mode, check the preview table, and download your parts.
One recording. One upload. As many usable clips as your content contains.
Found this guide useful? Share it with a creator who is still uploading unedited three-hour recordings and wondering why nobody watches them to the end.