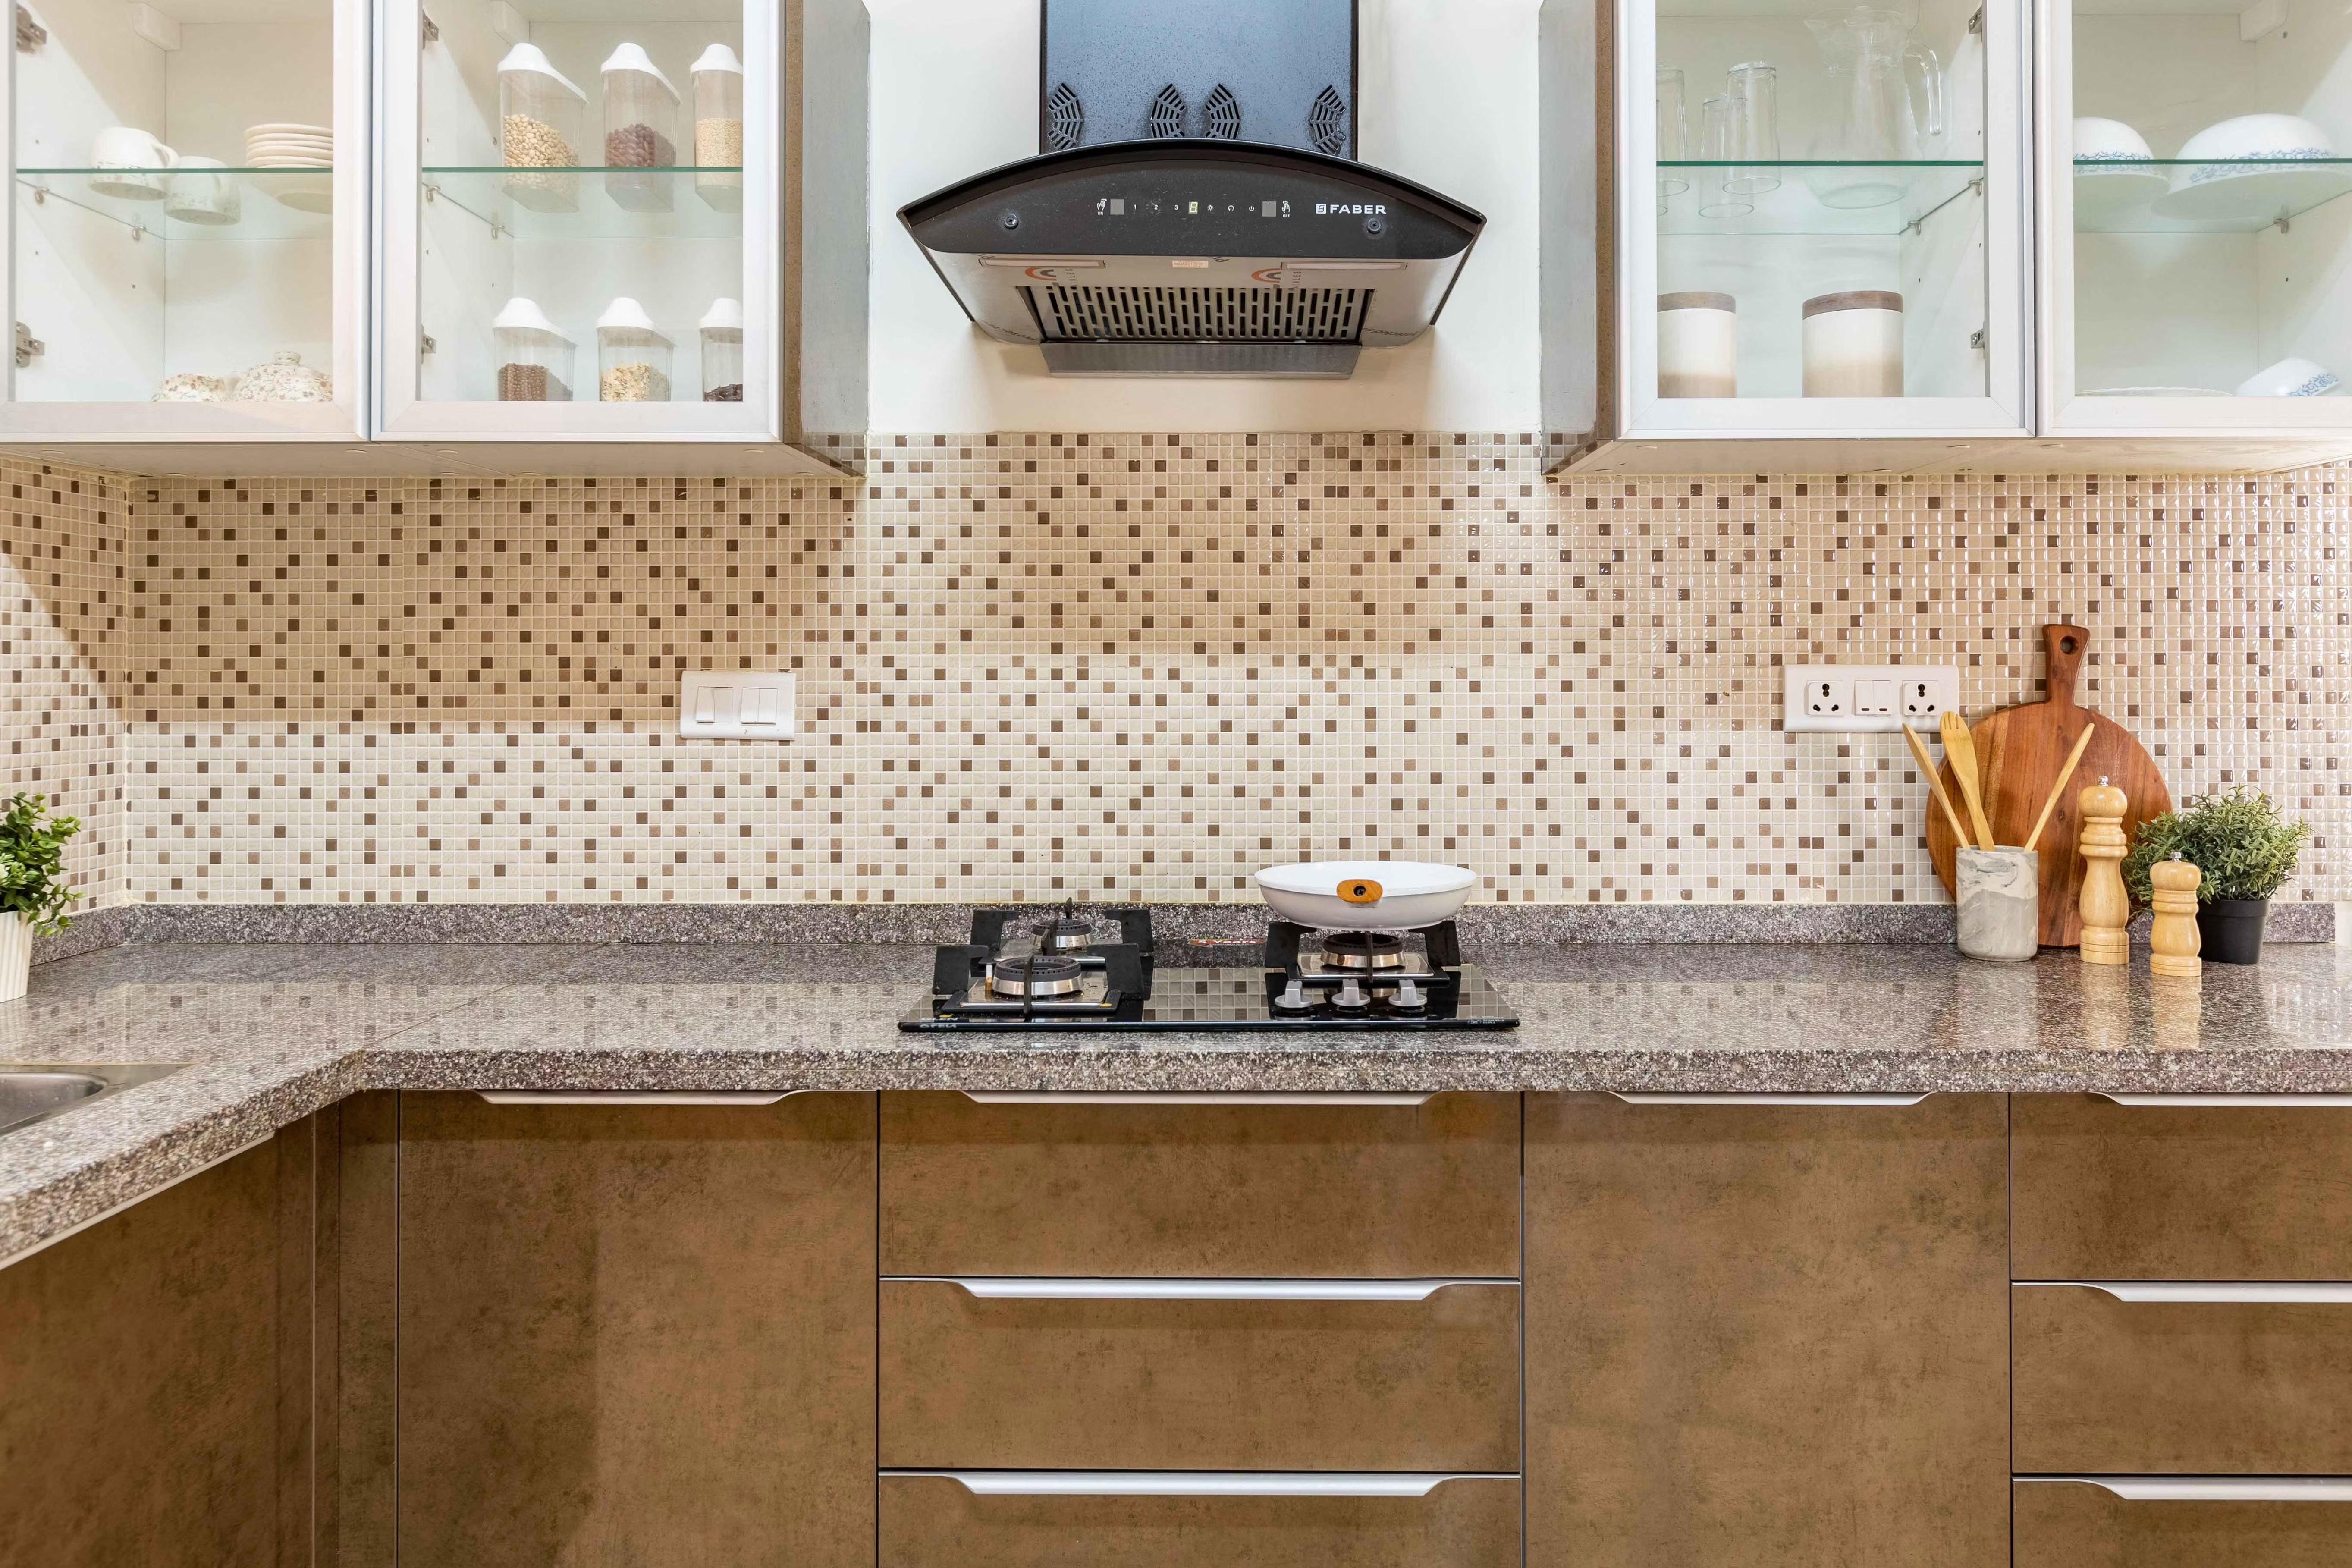
Choosing the right tools is one of the most important parts of any tile installation project. Good equipment helps improve accuracy, reduces wasted materials, and creates a clean finish that lasts for years. Whether you are planning a small repair or hiring a Kitchen Tile Installation Service, understanding the essential tools allows you to appreciate the process and achieve better results with every installation.
Essential Measuring And Layout Tools
Accurate measurements create the foundation for a successful tile installation. Professionals commonly use tape measures, framing squares, chalk lines, laser levels, and spirit levels to plan every section before placing the first tile. These tools help keep rows straight and corners aligned, preventing uneven gaps or misplaced tiles. Proper layout also reduces unnecessary cutting and material waste. Taking time to mark reference lines carefully allows every tile to fit naturally, creating a balanced appearance across walls, floors, or backsplashes.
Tile Cutting Tools For Precise Results
Every installation requires some level of tile cutting to fit corners, edges, and fixtures. Manual tile cutters work well for straight cuts on ceramic tiles, while wet saws provide cleaner results for porcelain, stone, and thicker materials. Tile nippers help shape small sections around pipes or electrical outlets. Angle grinders fitted with diamond blades are useful for curved cuts. Selecting the proper cutting tool reduces breakage, improves safety, and helps maintain clean edges that contribute to a polished final appearance.
Tools Used For Applying Adhesive
Applying adhesive evenly is essential for keeping tiles secure and level throughout the installation. A notched trowel spreads mortar consistently, allowing proper bonding beneath each tile. Mixing buckets and drill mixers prepare adhesive with the correct consistency, preventing weak spots during installation. Rubber mallets gently tap tiles into place without causing cracks. Tile spacers maintain equal gaps between tiles, making grout lines look neat and consistent. Using these tools correctly creates a stable surface that remains durable under regular daily use.
Grouting And Finishing Equipment
Grouting completes the installation by filling spaces between tiles and helping protect against moisture. Rubber grout floats push grout deeply into joints without damaging tile surfaces. Large sponges remove excess grout while maintaining smooth lines during cleanup. Microfiber cloths polish away haze once the grout begins curing. Caulking guns apply flexible sealant where tiles meet walls, countertops, or tubs. Finishing tools may seem simple, but they play a major role in giving every installation a clean, professional appearance.
Safety Equipment Every Installer Should Use
Safety remains an important part of every tile installation project regardless of its size. Protective eyewear shields eyes from flying debris during cutting. Heavy-duty gloves improve grip while reducing cuts from sharp tile edges. Knee pads provide comfort during long working hours on hard surfaces. Dust masks help reduce exposure to fine particles produced during cutting and mixing. Hearing protection is recommended when operating power tools for extended periods. Proper safety equipment helps installers work comfortably while reducing unnecessary risks.
Step-By-Step Tile Installation Process And Tools Needed
Every successful tile installation follows a clear sequence using the right tools at each stage.
- Measure the installation area using a tape measure and level.
- Mark layout lines with a chalk line for straight placement.
- Prepare adhesive using a mixing bucket and drill mixer.
- Spread mortar evenly with a notched trowel.
- Position tiles using spacers to maintain equal gaps.
- Cut edge tiles with a manual cutter or wet saw.
- Tap tiles gently using a rubber mallet for even placement.
- Apply grout with a grout float and clean surfaces using a sponge.
- Finish edges with sealant using a caulking gun for added protection.
Choosing Quality Tools For Better Results
Reliable tools often produce cleaner work and reduce installation problems over time. Durable equipment maintains accuracy, lasts longer, and performs consistently across different tile materials. Buying inexpensive tools may appear cost-effective initially, but poor-quality products can slow progress and affect the final finish. Professional-grade tools also improve comfort through better design and stronger construction. Investing in dependable equipment supports efficient work, minimizes mistakes, and contributes to attractive tile installations that remain durable for many years with proper maintenance.
Conclusion
Successful tile installation depends on careful planning, proper techniques, and the right collection of tools. Measuring equipment, cutting tools, adhesive applicators, finishing supplies, and protective gear each serve an important purpose throughout the project. Understanding how these tools work together helps create smooth, level, and durable tile surfaces. Whether completing a small renovation or managing a larger project, selecting quality equipment and following each installation step carefully leads to professional-looking results that stand the test of time.
FAQs
What is the most important tool for tile installation?
A tape measure and level are among the most important tools because accurate layout prevents uneven tile placement.
Why is a wet saw used during tile installation?
A wet saw makes clean, precise cuts on porcelain, stone, and other hard tile materials with minimal chipping.
What do tile spacers do?
Tile spacers keep equal gaps between tiles, creating straight grout lines and a consistent appearance.
Can manual tile cutters handle every type of tile?
Manual cutters work well for many ceramic tiles, but harder materials often require a wet saw for better results.
Why is safety equipment necessary for tile installation?
Safety gear protects installers from dust, sharp edges, loud equipment, and flying debris during cutting and installation.