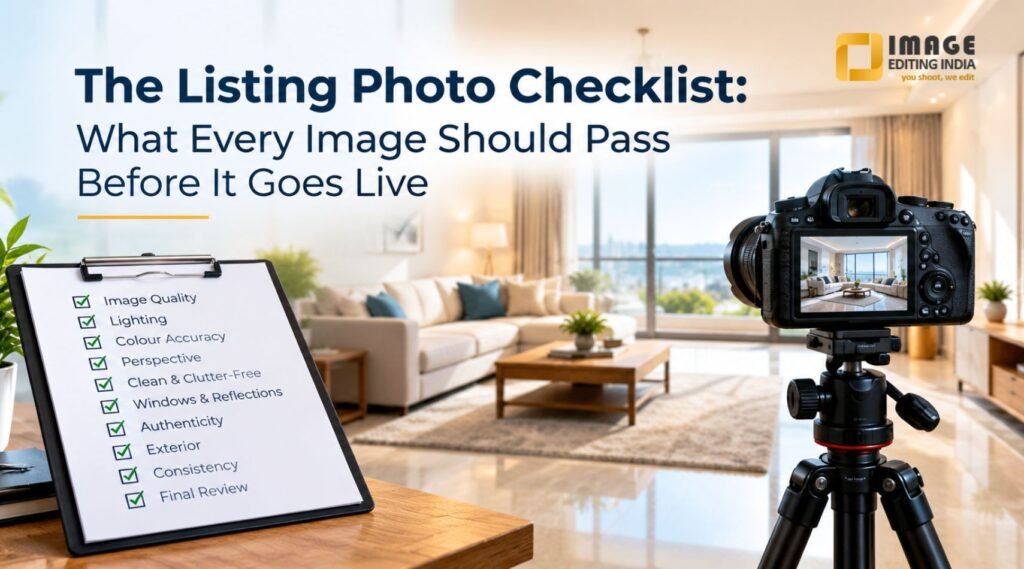
In real estate, listing photos often create the first impression long before a buyer reads the property description. A well-presented image can make a space look inviting, spacious, bright, and professionally maintained, while a poorly prepared photo can reduce interest within seconds. This makes image quality an important part of preparing a property listing for websites, portals, social media, and digital advertisements.
However, good listing photography is not simply about using a high-resolution camera. Images may need careful review for lighting, colour, composition, distractions, perspective, and consistency before they are published. A simple checklist can help ensure that every property photo meets a professional standard.
Here is a practical checklist that real estate marketers, agents, photographers, and property businesses can use before putting listing images live.
1. Check the Overall Image Quality
The first step is to examine the basic technical quality of the photograph.
Ask:
- Is the image sharp and properly focused?
- Is the resolution high enough for the intended platform?
- Is there noticeable blur or camera shake?
- Are important property details clearly visible?
- Does the image look compressed or pixelated?
A photo may look acceptable on a phone but appear poor when displayed on a large desktop screen or property portal. Images should therefore be checked at a reasonable viewing size before publication.
If an image is technically weak, editing cannot always fix the problem. It is better to replace a seriously blurred or underexposed photograph than attempt to rescue it excessively.
2. Make Sure the Lighting Looks Natural
Lighting has a major effect on how buyers perceive a property.
Interior photographs can sometimes appear dark because of limited natural light, mixed lighting sources, or incorrect camera exposure. On the other hand, excessive brightness can remove important details from windows, walls, and furniture.
The goal should be a balanced appearance where:
- Rooms look bright but not artificially illuminated.
- Windows retain visible details where possible.
- Shadows are controlled without completely removing them.
- Highlights are not excessively bright.
- The overall atmosphere remains realistic.
Professional Real Estate photo enhancement can be useful when an otherwise strong photograph needs controlled adjustments to exposure, highlights, shadows, or brightness.
3. Check the Colour Accuracy
Colour problems are easy to overlook during a quick review.
White walls may appear yellow because of indoor lighting, while daylight can sometimes make interiors look excessively blue. Furniture, flooring, curtains, and other finishes should therefore be represented as naturally as possible.
Before an image goes live, compare the photograph with the actual property where possible. The purpose of editing should be to improve presentation without changing the property’s genuine appearance.
A buyer should not feel that the property looked completely different when they visit it in person.
4. Correct Perspective and Alignment
Wide-angle real estate photography can make rooms appear larger, but it can also create distorted walls, doors, windows, and furniture.
Check whether:
- Vertical walls appear reasonably straight.
- Door and window frames are not visibly leaning.
- Horizontal lines look balanced.
- The room does not appear unnaturally stretched.
- Wide-angle distortion is under control.
Perspective correction can make an image feel significantly more professional without changing the actual contents of the room.
This is particularly important for kitchens, bathrooms, living rooms, building exteriors, and architectural photography where straight lines are visually prominent.
5. Remove Unnecessary Distractions
A property photograph should keep attention on the property itself.
Before publishing, look carefully for distracting elements such as:
- Loose cables
- Bins
- Personal photographs
- Excessive clutter
- Cleaning equipment
- Random objects on tables
- Unnecessary signs
- Temporary furniture or items
Not every object needs to be removed digitally. If something can be tidied before photography, that is usually preferable.
For minor distractions that cannot reasonably be removed beforehand, professional editing can sometimes provide a cleaner presentation.
6. Review Windows, Mirrors, and Reflective Surfaces
Reflective surfaces deserve special attention because they can reveal unwanted details.
Check mirrors, glass doors, windows, polished furniture, and other reflective areas for:
- Photographer reflections
- Camera equipment
- Unwanted people
- Strong glare
- Distracting reflections
- Overexposed areas
These details can easily be missed when reviewing a photograph quickly, yet they become obvious once the image is published.
A final zoomed-in inspection is therefore useful before approval.
7. Keep Property Features Authentic
One of the most important rules of listing photography is to maintain accuracy.
Editing should improve presentation rather than create features that do not exist. For example, an image should not digitally add a swimming pool, remove a permanent structural feature, enlarge a room beyond reality, or significantly alter the property’s condition.
Colour correction, exposure adjustments, perspective correction, and minor cleanup are generally intended to present the existing property more effectively.
The photograph should support the listing—not create unrealistic expectations.
8. Check Exterior Photos Carefully
Exterior images often establish the first visual impression of a property.
Review the building facade, entrance, driveway, garden, balcony, parking area, and surrounding environment.
Look for:
- Poor exposure
- Uneven horizons
- Distorted architecture
- Unwanted vehicles
- Visible litter
- Temporary objects
- Excessive shadows
- Poor framing
The main property should remain the visual focus. Exterior photographs should also provide enough surrounding context to help viewers understand the setting.
9. Maintain Consistency Across the Listing
A property listing usually contains several photographs, not just one. Therefore, consistency matters.
Imagine opening a listing where the first image is warm and bright, the second is dark and blue, and the third has noticeably different contrast. Even if every individual photograph is acceptable, the overall listing can feel unprofessional.
Try to maintain consistency in:
- Brightness
- Colour temperature
- Contrast
- Image dimensions
- Cropping
- Overall visual style
This creates a more cohesive property gallery and makes the listing easier to browse.
10. Use Professional Retouching Where It Adds Value
Not every property photograph requires extensive editing. In many cases, subtle corrections are enough.
Photo Retouching Services can be considered when a property business needs a consistent workflow for handling a large number of listing images. Retouching may involve exposure correction, colour balancing, perspective adjustments, distraction removal, or other controlled improvements.
The important point is moderation. Over-retouched images can look artificial and may reduce trust instead of improving it.
A professional result should generally look like a better version of the original photograph—not like a completely different property.
11. Check Cropping and Composition
Even a high-quality photograph can become ineffective if it is poorly cropped.
Before publishing, check whether the crop:
- Keeps the important property features visible.
- Avoids cutting off furniture unnecessarily.
- Provides enough visual breathing room.
- Works with the platform’s image dimensions.
- Keeps the main subject properly positioned.
Different platforms may display images differently, so a crop that works well on one website may not work equally well on another.
Creating platform-appropriate versions can prevent important details from being accidentally cut off.
Conclusion
High-quality listing photography is a combination of good photography, careful editing, and disciplined quality control. A structured checklist helps ensure that every image looks professional while still representing the property accurately. Whether the requirement involves basic corrections or more detailed Image Editing India solutions, the objective should remain the same: create clear, attractive, trustworthy visuals that help potential buyers understand the property before they take the next step.