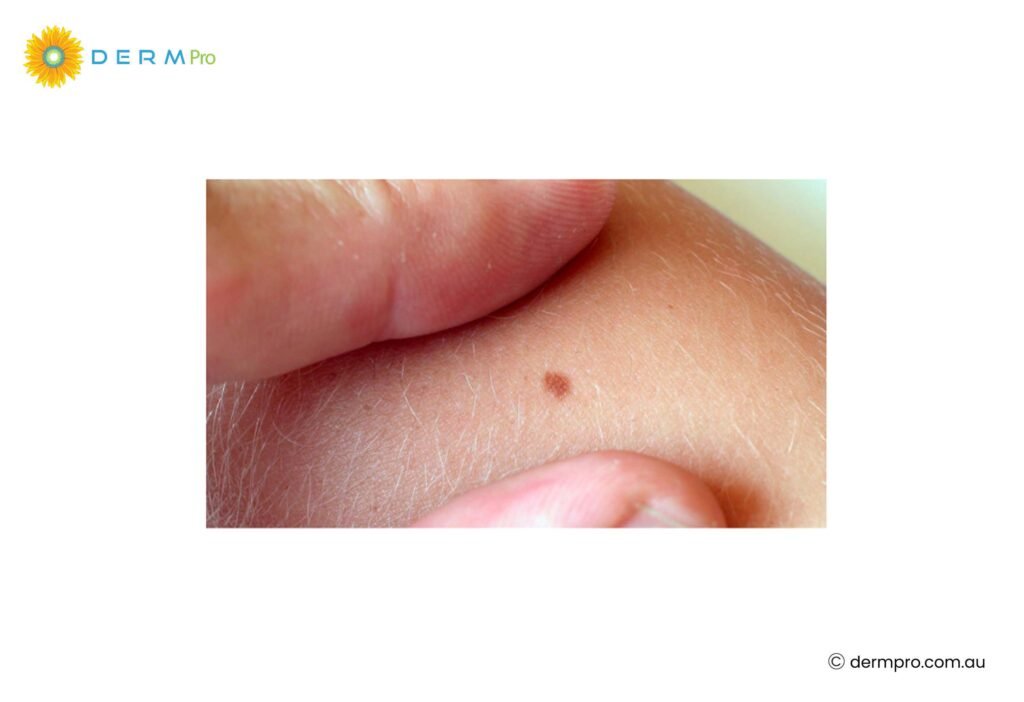
Discovering a new spot or noticing changes in an existing mole can spark immediate questions about your skin health. Moles (known medically as nevi) are common skin growths that develop when pigment-producing cells grow in clusters. While the vast majority of moles are benign and completely harmless, certain moles require medical evaluation and eventual removal either to rule out skin cancer or for cosmetic and functional comfort.
Understanding the clinical mole removal procedure helps remove uncertainty and ensures you make informed decisions about your skin. In this detailed guide, DermPro breaks down the complete mole removal process: from initial dermoscopic evaluation and surgical techniques to histopathology analysis, recovery expectations, and long-term aftercare.
What is Mole Removal?
Mole removal is a safe, routine dermatological procedure performed to excise or shave a skin lesion from the body. Depending on the depth, tissue characteristics, and clinical appearance of the mole, a medical specialist selects a procedure designed to clear the lesion while preserving cosmetic aesthetics and structural tissue integrity.
Whether a mole is removed for diagnostic reasons (to test for melanoma or dysplastic changes) or for cosmetic preferences (such as a raised mole that catches on clothing), the procedure is conducted under local anesthesia in an outpatient setting to ensure a pain-free experience.
Why Remove a Mole? Medical vs. Cosmetic Indications
The decision to undergo mole removal typically falls into one of two main clinical categories:
1. Diagnostic and Medical Indications
- Atypical or Suspicious Features: Moles that display irregular borders, color variation, or rapid growth must be removed for histological evaluation.
- Skin Cancer Screening Alerts: Lesions identified during routine skin checks that exhibit dysplastic (pre-cancerous) features.
- Chronic Trauma or Friction: Moles located on areas prone to constant rubbing (e.g., along the waistband, bra line, or collar line) that become chronically inflamed or tender.
2. Cosmetic and Functional Indications
- Aesthetic Preference: Raised or prominent moles on the face, neck, or body that impact personal confidence.
- Interference with Daily Habits: Facial moles that repeatedly get cut during shaving or snagged during grooming.
The ABCDE Rule: Spotting Suspicious Moles
Before undergoing mole removal, clinicians evaluate the spot using the standardized ABCDE criteria alongside dermatoscopic analysis. You can also use these guidelines during self-examinations at home:
- A – Asymmetry: One half of the mole does not match the other half in shape or contour.
- B – Border: The edges are irregular, ragged, notched, or blurred.
- C – Color: The color is uneven, featuring shades of brown, black, pink, red, white, or blue.
- D – Diameter: The spot is larger than 6 millimeters across (about the size of a pencil eraser), though melanomas can sometimes be smaller.
- E – Evolving: The mole is changing in size, shape, color, or height, or begins to itch, bleed, or crust.
Step-by-Step: The Professional Mole Removal Process
When you undergo professional mole removal, the procedure follows a strict, standardized clinical pathway to ensure safety, comfort, and precise surgical clearance.
1. Clinical Assessment and Dermoscopy
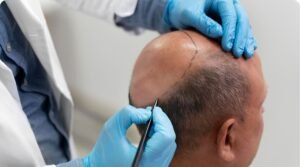
Before any surgical instrument touches your skin, a practitioner examines the lesion under a high-powered dermatoscope. This specialized lighting and magnifying tool allows the doctor to view pigment structures beneath the epidermis. The clinician marks the surgical margins with a surgical pen to plan the exact boundary of the cut.
2. Cleaning and Local Anesthesia
The target area is thoroughly sanitized with an antiseptic solution. Local anesthetic (typically lidocaine with epinephrine) is injected directly beneath and around the mole. You will feel a brief, mild sting from the needle, followed quickly by complete numbness. You remain fully awake during the entire procedure, but you will not feel any pain.
3. Surgical Removal Technique
The precise method used for mole removal depends on whether the mole is flat or raised, superficial or deep, and benign or suspicious:
- Shave Excision: Ideal for raised, benign moles. The doctor uses a small, curved surgical blade to shave the mole flush with the surrounding skin. No deep incision is made, and no stitches are required. Electrosurgical cautery or a topical chemical agent is applied briefly to stop minor bleeding and smooth the edges.
- Full-Thickness Surgical Excision: Required for suspicious, irregular, or deeply pigmented moles. The clinician cuts out the entire mole along with an ellipse (boat-shaped margin) of healthy surrounding tissue to ensure complete removal of deep roots.
- Laser Mole Removal: Suitable only for small, superficial, flat, non-cancerous moles. Concentrated light beams break down pigment cells. (Note: Laser removal is never used for suspicious moles because it vaporizes the tissue, leaving no sample behind for lab analysis).
4. Histopathology Laboratory Testing (Biopsy)
Except for purely aesthetic treatments of verified benign growths, removed mole tissue is placed in a formalin specimen jar and sent to an accredited pathology laboratory. A specialist pathologist examines microscopic cross-sections to verify whether the tissue is completely non-cancerous, dysplastic, or malignant.
5. Wound Closure and Dressing
For shave excisions, a protective antibiotic ointment or petroleum jelly is applied alongside a simple sterile bandage. For full-thickness excisions, the wound is closed in layers using fine surgical sutures (stitches) to minimize scarring, followed by a protective pressure dressing.
Comparing Primary Mole Removal Techniques
| Removal Method | Best Suited For | Stitches Required? | Recovery Time | Pathological Sample? |
| Shave Excision | Raised, benign surface moles | No | 1–2 weeks | Yes |
| Surgical Excision | Deep, suspicious, or atypical moles | Yes (sutures) | 2–4 weeks | Yes (100% margin check) |
| Laser Removal | Small, flat, verified benign spots | No | 1–2 weeks | No (tissue vaporized) |
| Cryotherapy | Certain superficial non-mole lesions | No | 1–3 weeks | No |
Wound Care, Healing, and Aftercare Guidelines
Proper post-procedure care is vital for preventing post-operative infection and ensuring the finest possible cosmetic result.
- Keep the Site Clean and Dry: Keep the original dressing dry for the first 24 to 48 hours. Afterwards, gently clean the site daily with mild, fragrance-free soap and clean water.
- Maintain Moisture: Apply petroleum jelly (such as Vaseline) or prescribed ointment daily to prevent a hard, raised scab from forming. Moist wounds heal up to 50% faster with significantly reduced scar tissue.
- Protect from Sun Exposure: New skin tissue is extremely sensitive to ultraviolet (UV) radiation. Apply broad-spectrum SPF 50+ sunscreen and keep the area covered to prevent post-inflammatory hyperpigmentation (dark scarring).
- Avoid Picking or Scratching: Allow any natural crusting to slough off on its own. Picking at a healing wound reintroduces bacteria and causes permanent scar widening.
- Limit Physical Strenuousness: If you receive stitches on high-tension areas (such as the back, shoulder, or thigh), refrain from heavy lifting or vigorous exercise for 10–14 days to keep the surgical line intact.
Pros and Cons of Professional Mole Removal
| Pros | Cons / Considerations |
| Definitive Peace of Mind: Eliminates health anxiety by providing pathology-verified diagnosis. | Potential Scarring: Any medical intervention penetrating the skin leaves a subtle, permanent mark. |
| Prevents Skin Cancer Progression: Early excision of dysplastic or malignant lesions saves lives. | Temporary Downtime: Requires minor wound care and activity modification during early healing. |
| Quick & In-Office: Most procedures are completed within 15 to 30 minutes under local anesthesia. | Out-of-Pocket Costs: Cosmetic removals may not be fully covered by standard medical insurance. |
Frequently Asked Questions
Does mole removal hurt?
No. Local anesthetic completely numbs the target site before the removal begins. You may feel slight pressure or movement during the procedure, but you will not feel pain. Mild soreness or tightness may occur for 24 to 48 hours afterward, which can be easily managed with over-the-counter pain relievers like paracetamol.
Can I remove a mole at home using DIY kits or creams?
No. Medical authorities strongly advise against using at-home mole removal pens, DIY creams, or home cutting tools. DIY attempts frequently cause severe chemical burns, deep infection, severe scarring, and incomplete removal. Crucially, attempting self-removal leaves suspicious tissue unanalyzed, allowing potentially dangerous skin cancers to spread undetected.
Will mole removal leave a scar?
Any procedure that cuts or shaves into the dermal layers of the skin will produce a scar. However, experienced clinicians utilize fine surgical tools, tension-reducing suture patterns, and precise shave protocols to ensure the resulting mark is minimal, flat, and fades significantly over 6 to 12 months.
What happens if a mole grows back after removal?
If a mole re-appears in the exact spot where it was removed, it typically means a few deep pigment cells remain beneath the surface. While often benign, any recurrent mole should be promptly evaluated by a skin specialist to ensure no atypical cells are developing.
Conclusion
The mole removal process is a streamlined, safe, and highly effective procedure that balances medical diligence with modern aesthetic care. Whether you are addressing an uncomfortable friction mole or investigating a changing spot for early cancer detection, seeking timely professional evaluation ensures your peace of mind and long-term wellbeing.