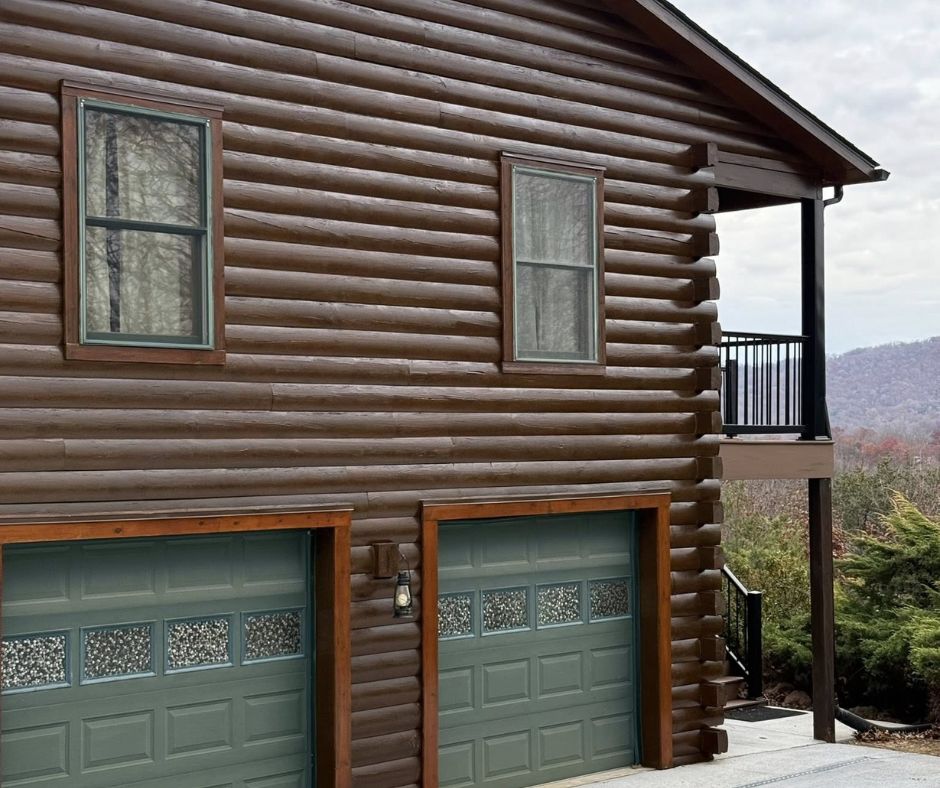
Restoring a log house isn’t some weekend DIY project you can half-ass and call it done. These structures have character, history, and quirks that demand respect—and patience. If you’ve got an old log home, chances are it’s showing its age. Cracks in the logs, faded stain, maybe some rot sneaking in. This is where log house restoration comes into play. It’s not glamorous work, but done right, it can bring a tired, weather-beaten cabin back to life. And it’s worth every hour.
Before diving in, understand that a log home is alive in a way that newer constructions aren’t. Wood shifts, swells, and breathes. Neglect it too long, and the damage isn’t just cosmetic—it can hit structural integrity. That’s why a proper restoration process matters.
Assessing the Damage
First things first, look at the whole place with a hard eye. Don’t just glance over the logs and think, yeah, it looks old, we’ll fix it later. Check every exterior wall. Pay attention to the bottom logs—they take the brunt of rain and snow splash. Check for cracks, splitting, or discoloration. If you see dark spots or wood that feels soft when you poke it, you’ve probably got rot. Water is the enemy here, always has been, always will be.
Windows, doors, and roof overhangs play a role too. Sometimes people fix the logs and forget that improper drainage or leaky roofs will ruin all that hard work. Walk around after a rain if you can. Look at where water drips, puddles, or runs down the logs. That tells you a lot.
Cleaning the Logs
You can’t restore a log house without starting with a clean slate. Old dirt, mold, moss, and grime aren’t just ugly—they hide problems. Power washing is tempting, I get it. But don’t blast the wood with a 4000 PSI washer. That’ll tear up the fibers and make things worse. Use a low-pressure wash or scrub with a stiff brush and a mix of mild detergent and water. Let it dry completely. Seriously, wood that’s still damp is a recipe for more rot down the road.
Once dry, inspect the logs again. Sometimes cleaning reveals hidden damage you didn’t notice before. It’s frustrating, but better to see it now than later.
Repairing Rotted Logs in a Log Home
Ah, the fun part. No one likes this, but it’s unavoidable. Old log houses almost always have sections where the wood has started to rot. Ignoring it isn’t an option. For small spots, you can use wood hardeners or epoxy fillers, but for larger sections, you might have to cut out the rotten section and splice in a new log piece.
This step takes patience. Logs aren’t perfectly straight, not like new lumber. Matching the grain, diameter, and fit takes an eye and some trial and error. You want it tight, because gaps lead to drafts, pests, and more water intrusion. Once the new piece is in place, you seal it properly. Staining and sealing after repairs isn’t optional—it protects the new wood and blends it with the old logs.
Chinking and Caulking
Even if the logs themselves are solid, gaps between them can make your home drafty or let moisture sneak in. Chinking is what keeps the weather out and the warmth in. Old log homes often have cracked or crumbling chinking. Remove what’s falling off and apply a fresh, flexible material. Modern chinking products are better than the old cement mixes—flexible, durable, and they move with the wood.
Pay attention to corners, windows, and doors. These areas are tricky, and sloppy work shows fast. A tight seal now saves headaches later.
Sanding and Finishing
After all repairs and chinking, it’s time to bring some life back to the wood. Sanding removes rough patches, old stain, and any remnants of decay. Don’t overdo it—you don’t want to shave the log down too thin. Just enough to prep the surface for stain and sealant.
Choosing the right finish is critical. Transparent stains show the wood grain but may need more frequent maintenance. Solid stains hide flaws and offer longer protection but can look flat if overapplied. Whatever you pick, apply it liberally, let it penetrate, and follow the drying instructions. Multiple coats often give the best protection, especially on the south and west-facing sides that take the sun and rain hardest.
Routine Maintenance After Restoration
Restoration isn’t a one-time event. You don’t finish the project, step back, and assume you’re set for life. A restored log house still needs attention. Inspect it every year for new cracks. Look over the roof and gutters. Clean the logs so dirt and moisture aren’t just sitting there working against you. Reapply stain or sealant every few years depending on your climate. That rhythm is what keeps you from ending up back in full-scale repairing rotted logs log home territory again. Catch things early, and they stay manageable.
Wood moves. It always will. Logs expand and contract with the seasons. This is normal. Keep an eye on joints, caulking, and chinking. Touch up small cracks before they become big problems.
Conclusion
Restoring a log house is messy, tiring, and sometimes frustrating work. You’ll sweat, curse, maybe even rethink your life choices halfway through. But seeing the transformation? Worth it. A solid, well-maintained log home stands for decades, maybe generations.
The key is patience and respect for the structure. Start with a thorough assessment, clean everything, tackle the rot, seal the gaps, finish strong, and maintain consistently. It’s not just about making it look good—it’s about protecting your investment and the home’s history. With care, your old log house can shine like it did when it was first built, but with the strength and longevity modern techniques offer.
Restoration isn’t fast, but done right, it’s damn satisfying. There’s something about touching the logs, smelling that wood, knowing you brought a home back from the brink. That’s the reward. And that’s what log house restoration is really all about.